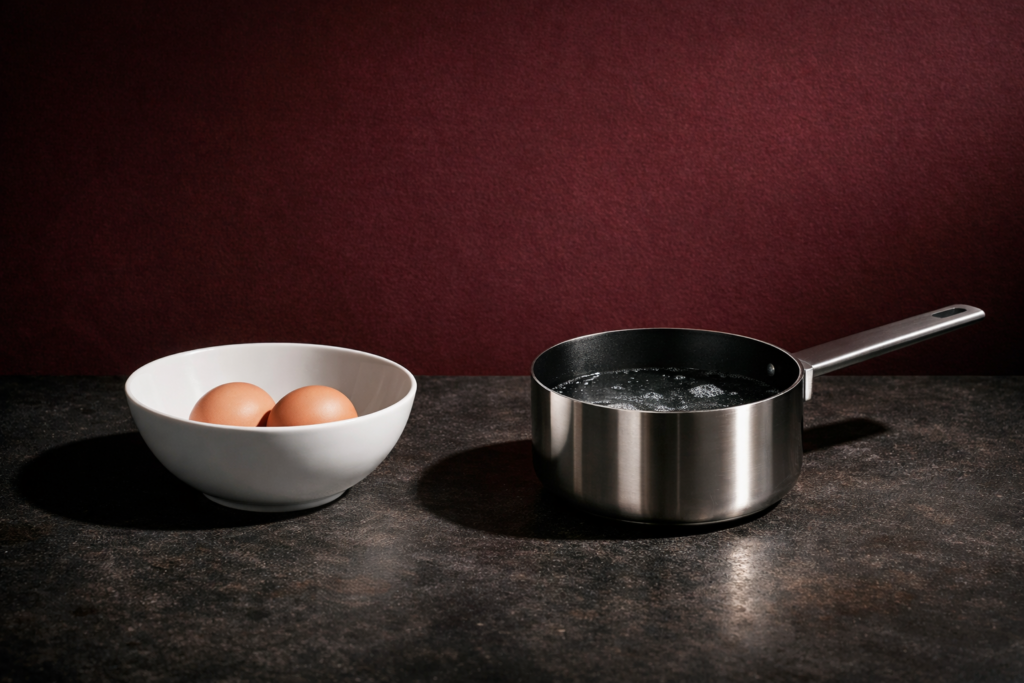
If you want to know how to poach eggs, the short answer is this: use fresh eggs, keep the water at a gentle simmer rather than a rolling boil, slide each egg in carefully, and cook until the white is set and the yolk is still soft. It is a simple technique, but small details make a big difference.
Poached eggs can seem unpredictable because eggs vary in freshness, size, and temperature, and water can be too still or too rough. Once you understand what is happening in the pan, though, poaching becomes much easier. This guide walks through the basic method, explains why it works, and helps you fix the problems that most often go wrong.
Why poached eggs can be tricky
A poached egg is cooked without its shell in hot water. The goal is to set the egg white gently while keeping the yolk tender, usually runny or slightly jammy. That means balancing time and temperature.
The challenge is that egg whites do not all behave the same way. Fresh eggs have tighter whites that hold together better. Older eggs have looser whites that spread into the water more easily. If the water boils hard, the egg gets broken up by movement. If the water is too cool, the white may drift before it sets.
Acid can help the white firm up a little faster, which is why some cooks add vinegar to the water. It is useful, but not essential if your eggs are fresh and your technique is steady.
What you need for how to poach eggs
You do not need special equipment. A few basic tools make the process smoother.
- Eggs: as fresh as possible
- A saucepan or deep skillet: wide enough for easy access
- Water: enough to give the eggs room to float without touching the bottom, usually about 5 to 8 cm (2 to 3 inches) deep
- A small bowl or ramekin: for cracking each egg first
- A slotted spoon: for lifting the egg out
- Optional vinegar: about 5 to 15 ml (1 to 3 teaspoons) per 1 litre (about 4 cups) of water
- Paper towel or a clean kitchen towel: for draining briefly
If you are cooking several eggs, a timer is very helpful. With poached eggs, a small change in time can change the texture noticeably, so timing is more reliable than guesswork.
The best eggs to use
Freshness matters most
The fresher the egg, the more compact the white tends to be. That gives you a neater poached egg with less wispy white floating in the pan. If your eggs are not especially fresh, you can still poach them, but the shape may be less tidy.
Egg size affects timing
Medium, large, and extra-large eggs all cook slightly differently. A larger egg may need a little longer for the white to set around the yolk, but the difference is usually modest and depends on the pan, water temperature, and how many eggs you are cooking. Treat the first egg as your timing test and adjust from there.
Cold eggs versus room temperature
Cold eggs straight from the refrigerator are fine. Room-temperature eggs may cook a touch more evenly, but the difference is small in home cooking. Consistency matters more than chasing perfection.
How to poach eggs step by step
This is the most reliable standard method for one to four eggs.
- Fill the pan with water. Add about 5 to 8 cm (2 to 3 inches) of water to a saucepan or deep skillet. Bring it to a gentle simmer over medium heat.
- Adjust the heat. Look for small bubbles rising occasionally and slight movement in the water. Do not let it boil rapidly. A rolling boil will knock the egg apart.
- Add vinegar if using. Stir in 5 to 15 ml (1 to 3 teaspoons) of plain vinegar per 1 litre (about 4 cups) of water. This is optional. Many cooks also avoid adding salt to the water, since its effect on shape is limited and can be a matter of preference rather than a rule.
- Crack each egg into a small bowl. This lets you lower it into the water more carefully and helps you spot shell fragments before cooking.
- Create a gentle swirl if cooking one egg. Stir the water once in a circular motion so the water moves slowly. This can help wrap the white around the yolk. For multiple eggs, skip the swirl and simply use calm water.
- Slide the egg into the water. Bring the bowl close to the surface and tip the egg in gently. The less distance it falls, the tidier it will stay.
- Cook until the white is set. Start checking at about 3 minutes for a runny yolk. Most large eggs take around 3 to 4 minutes. For a slightly firmer center, go closer to 4 to 5 minutes.
- Lift out with a slotted spoon. Raise the egg gently and touch the white lightly to check that it is set.
- Drain briefly. Let excess water drip away, then rest the egg on paper towel or a clean towel for a moment before serving.
- Trim if you want a neat finish. Wispy edges are harmless, but you can trim them with a spoon edge or small knife if presentation matters.
Take care around hot water and steam. Use a pan handle position that will not be knocked accidentally, and lower eggs gently to avoid splashes.
Timing guide for different textures
The exact time depends on egg size, starting temperature, pan shape, how many eggs are in the pan, and water temperature, so use these as a starting point rather than a strict rule.
- About 3 minutes: softly set white, very runny yolk
- About 3 1/2 to 4 minutes: set white, runny yolk
- About 4 1/2 to 5 minutes: firmer white, soft jammy yolk
If you are learning, poach one egg first and cut it open. That gives you a better timing reference for your pan and stove than any chart can.
Common mistakes and how to fix them
The white spreads everywhere
This usually means the egg is not very fresh, the water is too cool, or the egg was dropped in from too high. Use fresher eggs, keep the water at a gentle simmer, and slide the egg in from a bowl held close to the surface.
If your eggs are older, you can strain off the loosest part of the white before poaching. Crack the egg into a fine sieve for a few seconds, then transfer it to a bowl and poach as usual.
The egg breaks apart in the pan
The water is often too rough. Lower the heat and wait until the boil settles. Vigorous bubbling tears at the white before it can set.
The egg tastes of vinegar
Use less vinegar next time. You only need a small amount. Plain vinegar is better than strongly flavored vinegar for this job.
The yolk overcooks before the white is ready
This can happen when the water is too hot and the outside cooks too fast, or when the egg is small and the timing is too long. Keep the simmer gentle and reduce the cooking time slightly.
The white is rubbery
The egg has simply cooked too long. Poached eggs continue to firm a little after leaving the water, so remove them as soon as the white is set.
Do you need vinegar, salt, or a whirlpool?
Vinegar
Helpful, but not mandatory. It can encourage the proteins in the white to set faster, especially with less-fresh eggs. Use only a small amount so the flavor stays neutral.
Salt
Many cooks add salt after cooking instead. Salt in the poaching water is not essential for shape, and its effect on feathering is often overstated, so this is more a matter of habit than a hard rule.
The whirlpool method
Useful mainly for a single egg. A gentle swirl can help gather the white around the yolk. For two or more eggs, it becomes awkward and unnecessary. Calm water works well enough.
How to poach eggs for a group
Poaching one egg is easy. Poaching several at once needs a little organization.
- Use a wide pan. Give each egg space so they do not stick together.
- Crack each egg into its own bowl. This makes quick, careful transfers possible.
- Bring the water to a steady gentle simmer. Do not swirl.
- Slide eggs in one by one. Work around the pan, leaving space between them.
- Remove in the order they were added. Different egg sizes and pan loads can shift the timing slightly, so watch the whites, not just the clock.
If you need to serve many eggs at once, poach them slightly under your ideal doneness, then chill them in cold water. Later, reheat them in hot, not boiling, water until they are steaming hot throughout and the white is fully heated before serving.
For food safety, refrigerate cooked eggs within 2 hours of cooking and keep them cold until reheating. Use them within 4 days if they have been cooled and stored safely. This guidance is especially important when you are making eggs ahead for a crowd or serving a mixed dish that includes poached eggs. Follow local food safety guidance, especially for young children, older adults, pregnant people, and anyone who is immunocompromised. Runny poached eggs are not appropriate for people who have been advised to avoid undercooked eggs unless pasteurized eggs are used and local guidance allows them.
Best ways to serve poached eggs
Poached eggs are at their best when paired with something that benefits from a rich yolk.
- On toasted bread with butter, olive oil, or mashed avocado
- Over sautéed greens such as spinach
- With grains, roasted vegetables, or lentils
- On soups where a soft yolk can enrich the broth
- As part of eggs Benedict or similar brunch dishes
Drain them well before plating so excess water does not dilute the dish or make bread soggy.
How to tell when a poached egg is done
Visual cues help more than strict timing once you have practiced a little.
- The white should look opaque, not translucent.
- The egg should hold together when lifted with a slotted spoon.
- The center should still feel softly springy if you touch it very gently.
Another good cue: the egg should look like a smooth white cushion wrapped around a bright yolk, not ragged or watery at the edges. If you are unsure, remove the egg and press the white lightly with the back of the spoon. It should feel set around the yolk, not loose and slippery.
Can you poach eggs without a stove?
Microwave poaching is possible, but it is not the best method to teach first. Microwave ovens heat unevenly, and water can superheat, meaning it may look calm and then suddenly erupt when disturbed, which can cause serious burns. Eggs can also overcook or burst with very little warning. For most home cooks, the stovetop is safer and more consistent.
If you do choose to use a microwave, follow the appliance instructions closely, use only microwave-safe utensils and containers, and never seal the container. A deep microwave-safe container with plenty of water is essential, and you should not try to rush the process. Short intervals and careful standing time reduce risk, but they do not remove it. If safety or consistency matters, choose the stovetop method instead.
Frequently asked questions
Why does my poached egg have lots of wispy white bits?
That usually comes from older eggs with looser whites. Fresher eggs help most. You can also strain the egg briefly before poaching to remove the thinnest white.
How much vinegar should I add to poaching water?
A small amount is enough, around 5 to 15 ml (1 to 3 teaspoons) per 1 litre (about 4 cups) of water. More than that can affect the flavor.
Can I poach eggs ahead of time?
Yes. Poach them slightly underdone, cool them promptly, refrigerate within 2 hours, and use them within 4 days if stored cold and safely. Reheat in hot water until the eggs are steaming hot throughout before serving.
Should the water be boiling?
No. It should be at a gentle simmer. Rapid boiling makes the eggs break apart and cook unevenly.
What is the best pan for poaching eggs?
A shallow saucepan or deep skillet works well because it gives you easy access and enough room to add and remove eggs gently.
Conclusion
Learning how to poach eggs comes down to a few core habits: use fresh eggs, keep the water just below a full boil, handle each egg gently, and watch the timing closely. Once you do that a few times, poached eggs stop feeling delicate and start feeling dependable. The method is simple, and the reward is a tender white, a rich yolk, and a dish that feels special with very little effort.


